So you want to learn how to headstand?
Headstand / Sirsasana is such a fun pose to learn, but can also be a slow and rigorous process to get to. It takes dedication and time to safely prep for this inversion. Once you feel your feet up in the air and you nail that first real headstand after endless amounts of work – it feels magical. It opens something inside you that wants to learn more about the wonders of the human body, and a strange adrenaline rushes through your senses. It is the ultimate mind clearer – you won’t be thinking about anything else other than your body and how you feel while in headstand 😉
It took me a year or so to really start feeling the hips stack over the shoulders and my core engage, where I could safely pull away from the wall and overcome the fear of getting upside down. I practiced every day, sometimes only for 20 minutes. The key is persistence and commitment to working on the prep poses to properly build the foundations for getting into a safe headstand.
I hope you find this useful : happy headstanding!
BENEFITS
There are some major benefits to Sirsasana other than it being a fun pose to test limits and get upside down! Here are some of my favourite benefits.
Increases Blood Flow
When you are upside down, you are optimizing nutrient flow and sending extra oxygen to the eyes, head and scalp! It is said to aid in nutrient delivery to the hair follicles – but I really can’t promise you less grey hairs by doing a headstand 😉
Strengthens the Body
A major benefit to headstand is the amount of muscle being built in the shoulders, arms and core. Learning to activate those new muscles in the prep poses helps improve your upper body strength and muscular endurance. We use this new found strength to take the weight off of the head and neck, using the forearms and shoulders to push away the ground – it’s a major workout!
Increases Focus
Ever hear the yoga teacher say “clear your mind” and you just can’t? Well, headstand is one of those poses that requires your utmost concentration so you really don’t have the ability to think about anything else other than your headstand and the burn in your abs. Getting comfortable in a headstand will also help reduce fear and worry, while improving your mind and keeping your attention clear and focused.
MISTAKES
Hopping up or donkey kicking
My number one rule when teaching a headstand is to never jump up! Walking the feet closer to the head and pressing in to the elbows to and lift one leg up at a time is much safer than hopping or kicking up, possibly injuring your neck or spine! This also helps train the body into feeling the hips above the shoulders by using the lower abdomen to keep them floating high.
Dumping into the head and shoulders
Distributing weight in the forearms and shoulders is actually what keeps you up and balanced in a headstand safely. Do not dump the weight on to your neck, push the ground away from you using your forearms, releasing the neck and head from the weight of your entire body. It is called a ‘headstand’ but so much of this pose relies on spreading the weight between your arms and not overloading weight on to your head. This helps to build the neck strength necessary to hold unsupported headstands in a more advanced headstand practice.
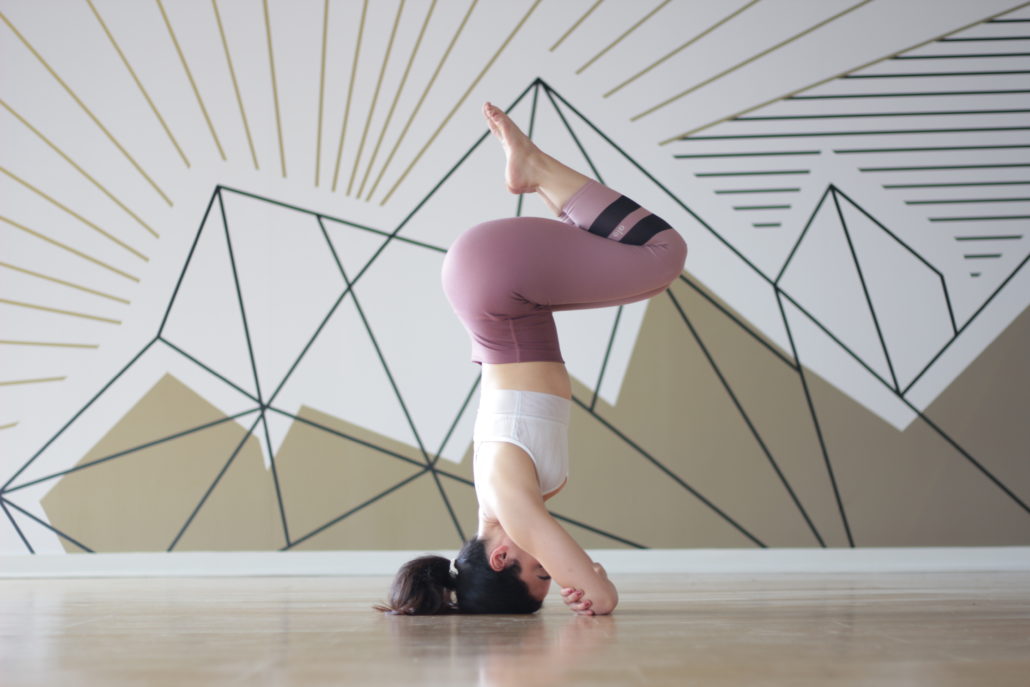
Head, Hands and Elbow placement
To avoid splaying out the elbows – place your forearms down on the mat, and each hand to touch opposite elbow. That should be the correct distance you need for a strong, supportive base. Interlace the palms together forming a triangle shape and keep the elbows hugging in, placing the head slightly down on the ground with the back of your head settling into the nook of your palms. Keep the shoulders pressing away from the ears or your back will round, allowing the possibility of rolling backwards. If you find the elbows keep splaying out, you can use a strap to keep them shoulder distance apart. If they are too tight then shoulder openers before headstand is always a good idea.
Below is a video on arm placement for headstand! Also how dumping into the shoulders looks like vs. pressing them away from the ears to create space.
Banana Back
The sway back or banana back is a curved spine in headstand due to the placement of the pelvis and the engagement of the core muscles. Most beginners will load a lot of the weight into their lower back creating an arch, since they are mostly focused on not falling over and aren’t engaging the core. This could lead to spinal injuries and bad muscle memory for your inversion practice.
Holding the Breath
Not much to say for this one other than, practice mindful breathing and don’t hold the breath.
TIPS
Shoulders pressing down and away from ears.
Forearms pressing into ground.
Practice your Prep exercises and poses every other day. Consistency is key!
Always rest for 2 minutes in child’s pose after headstand.
PREP POSES
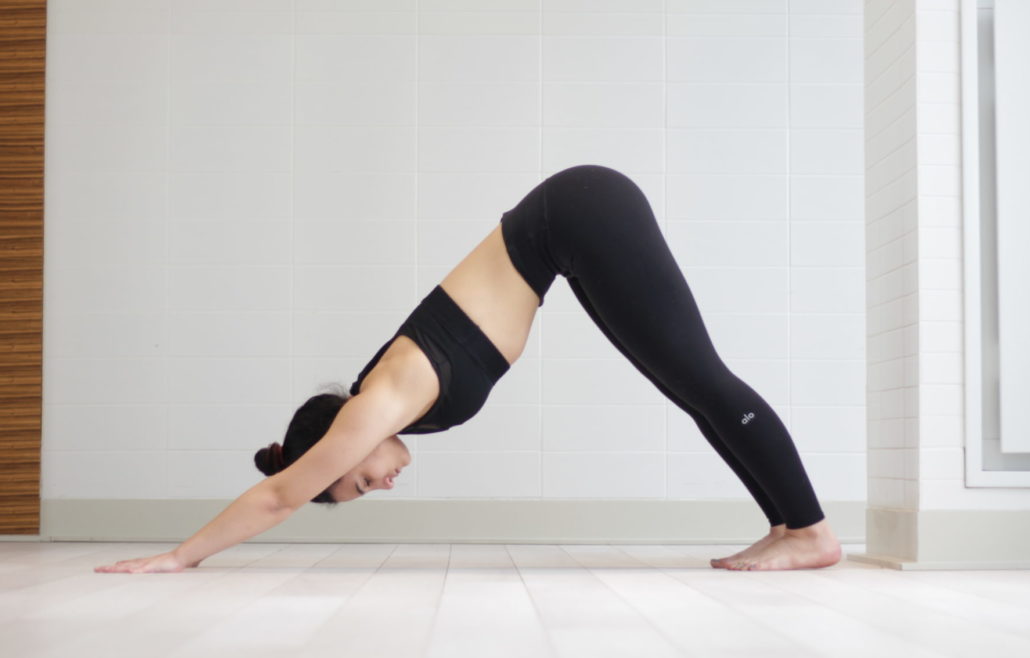
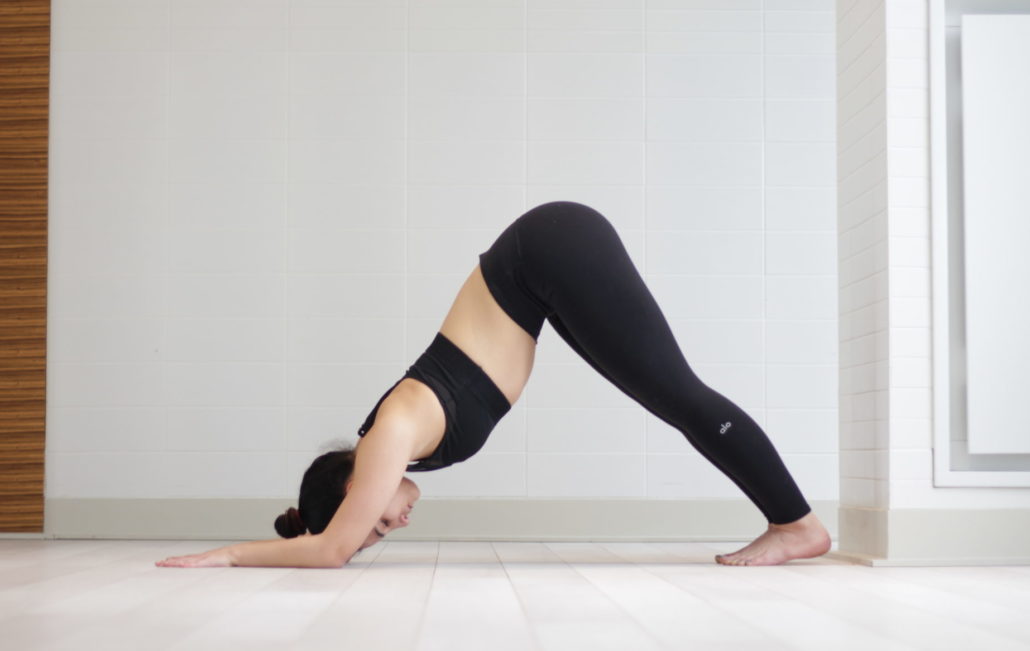
Downward Facing Dog
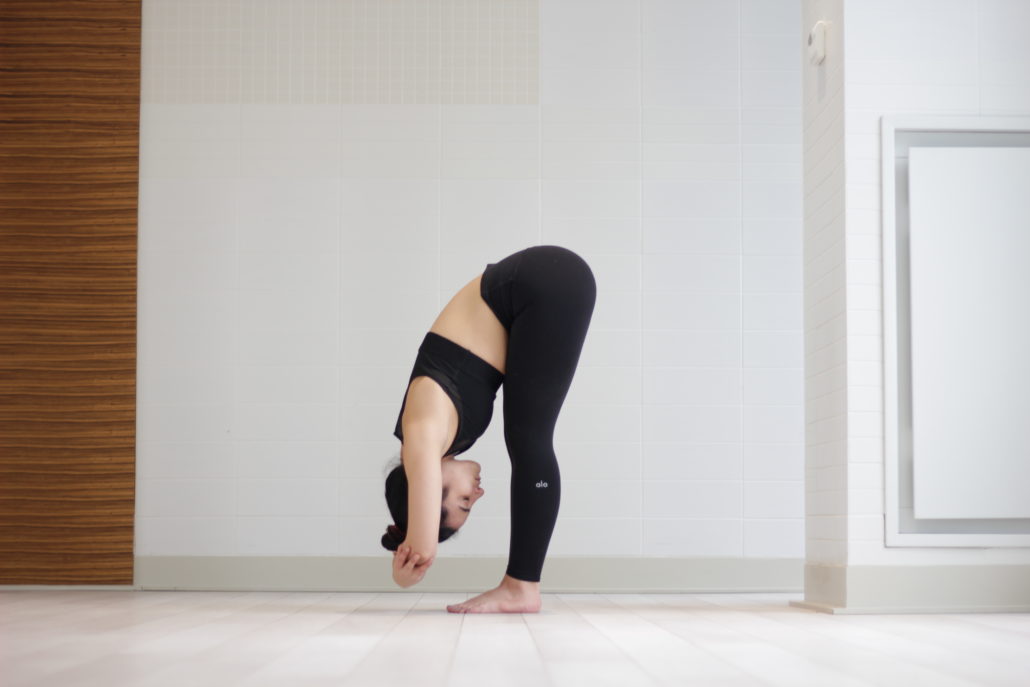
Forward fold
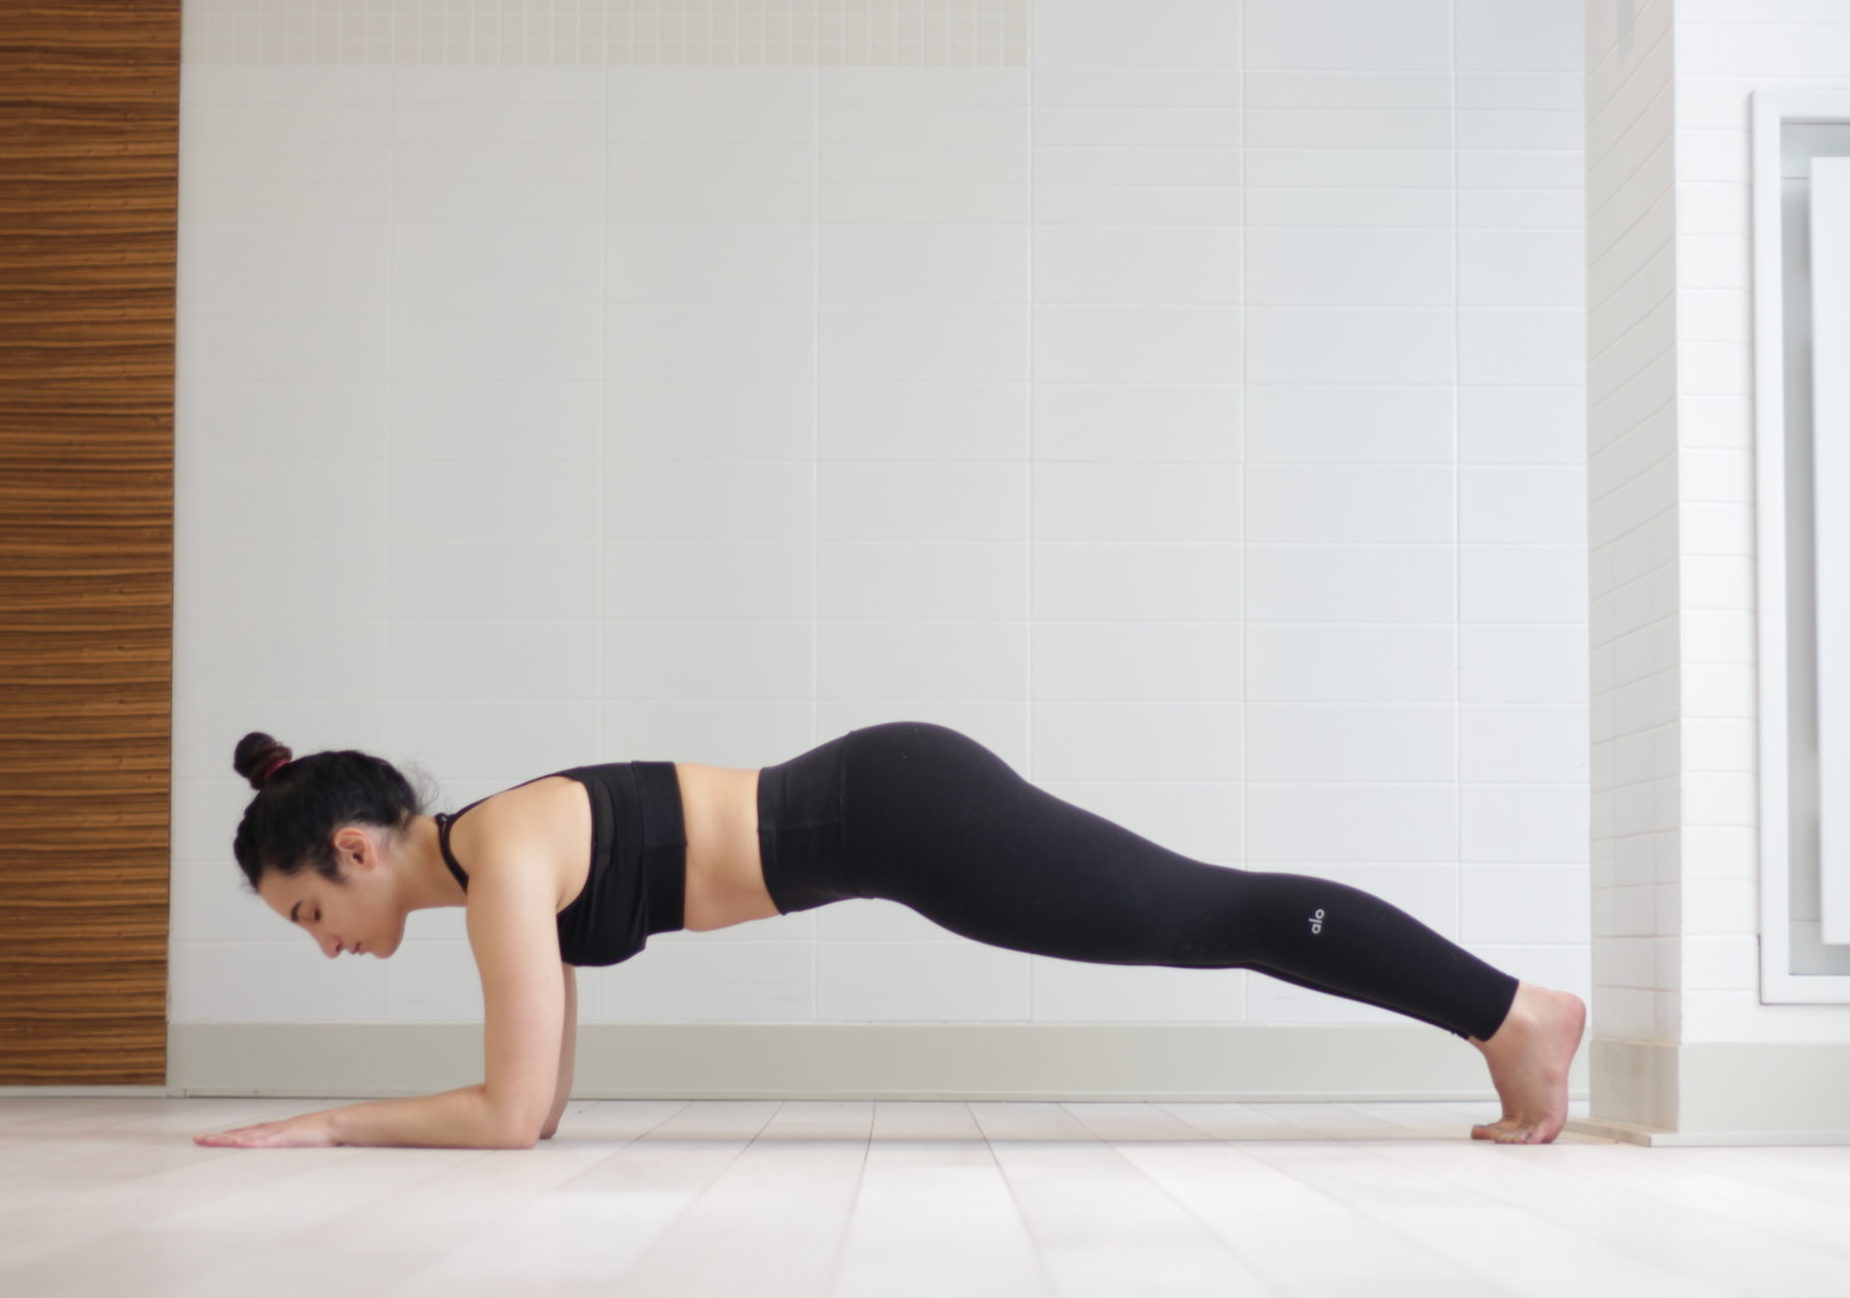
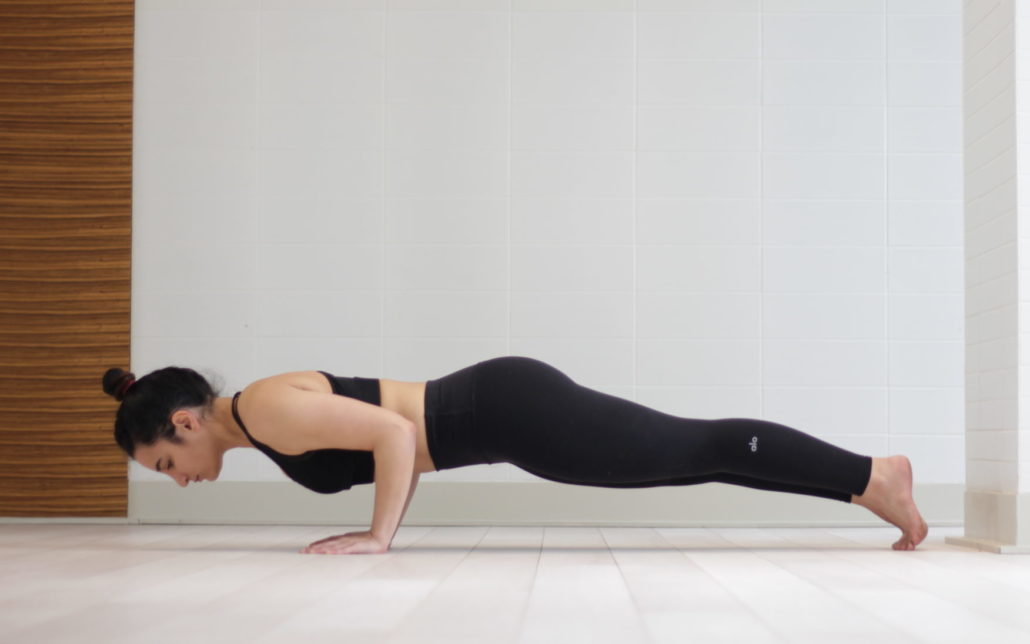
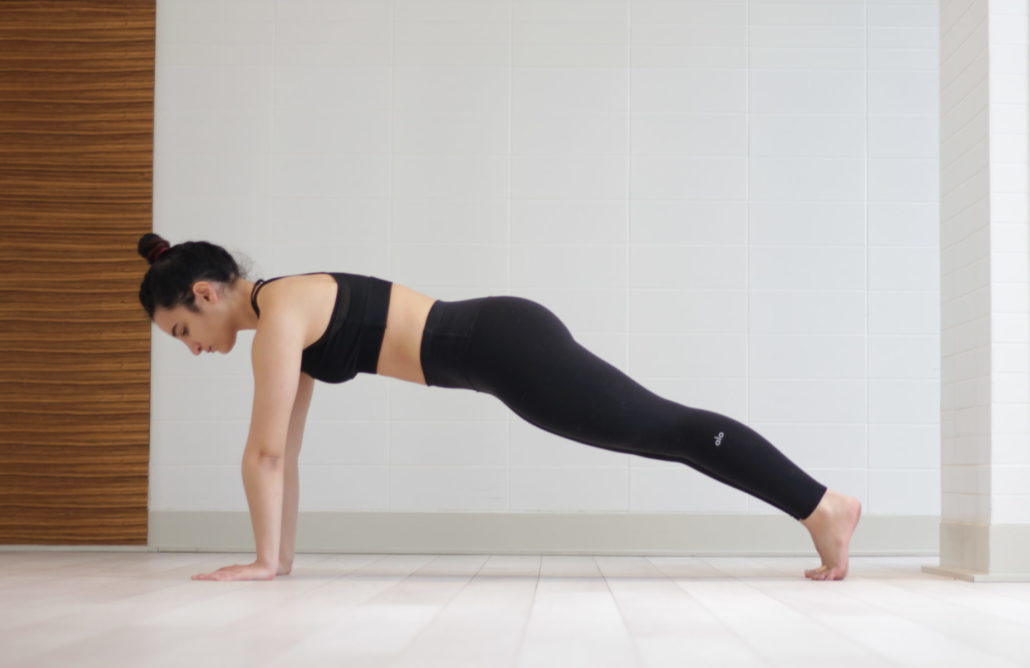
Plank
-
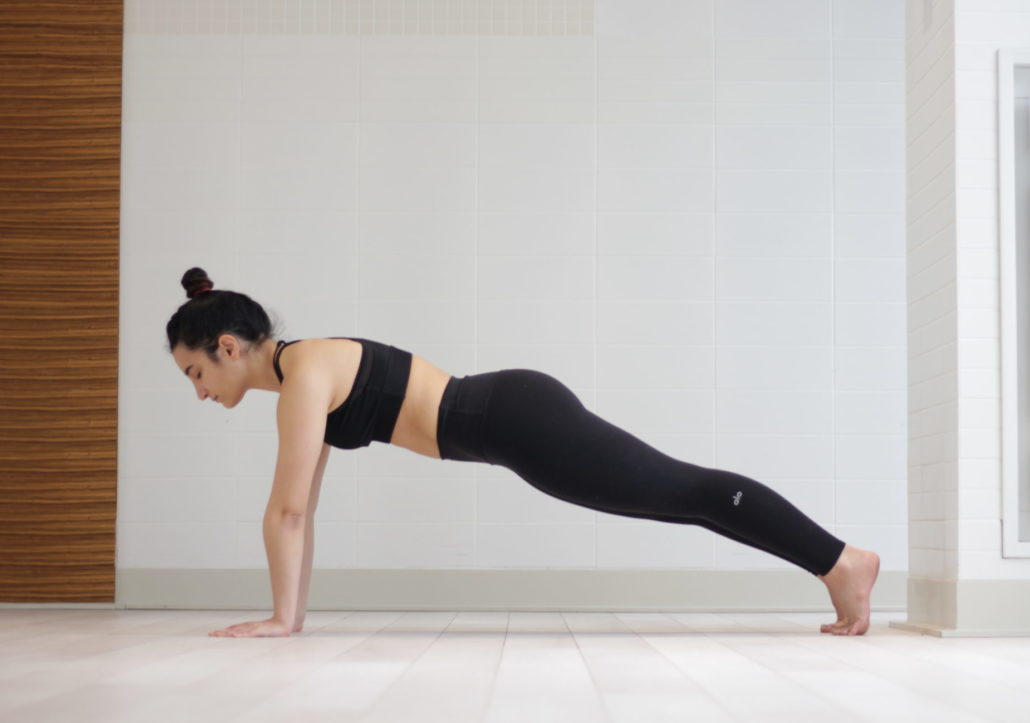
- Full Plank

-

- Forearm Plank
Navasana
-
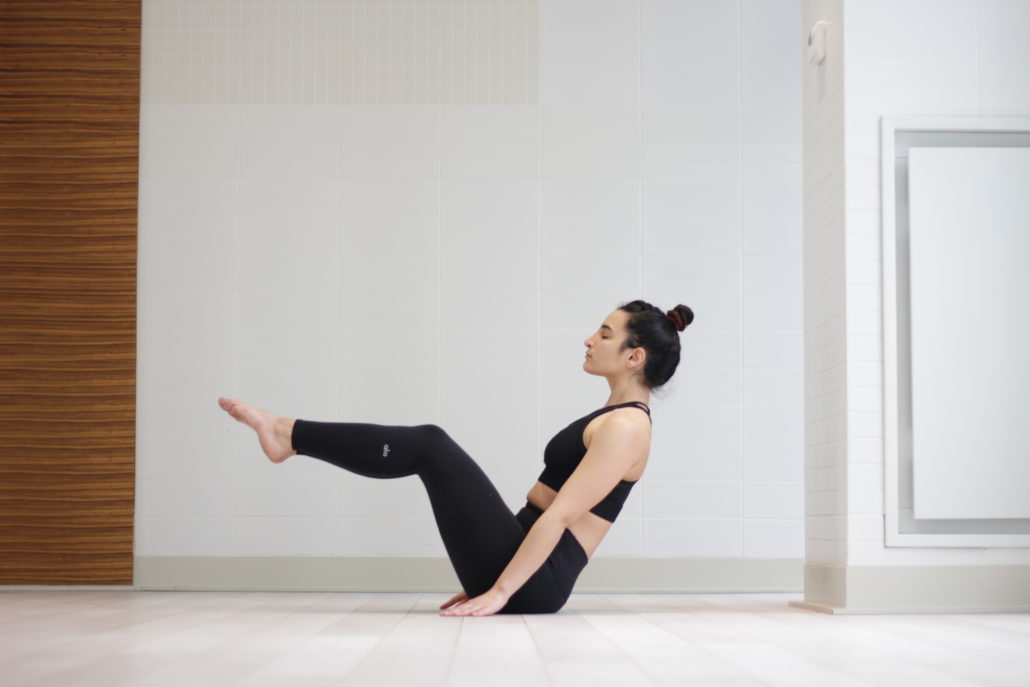
- Supported Boat

-

- Bent Knees Boat
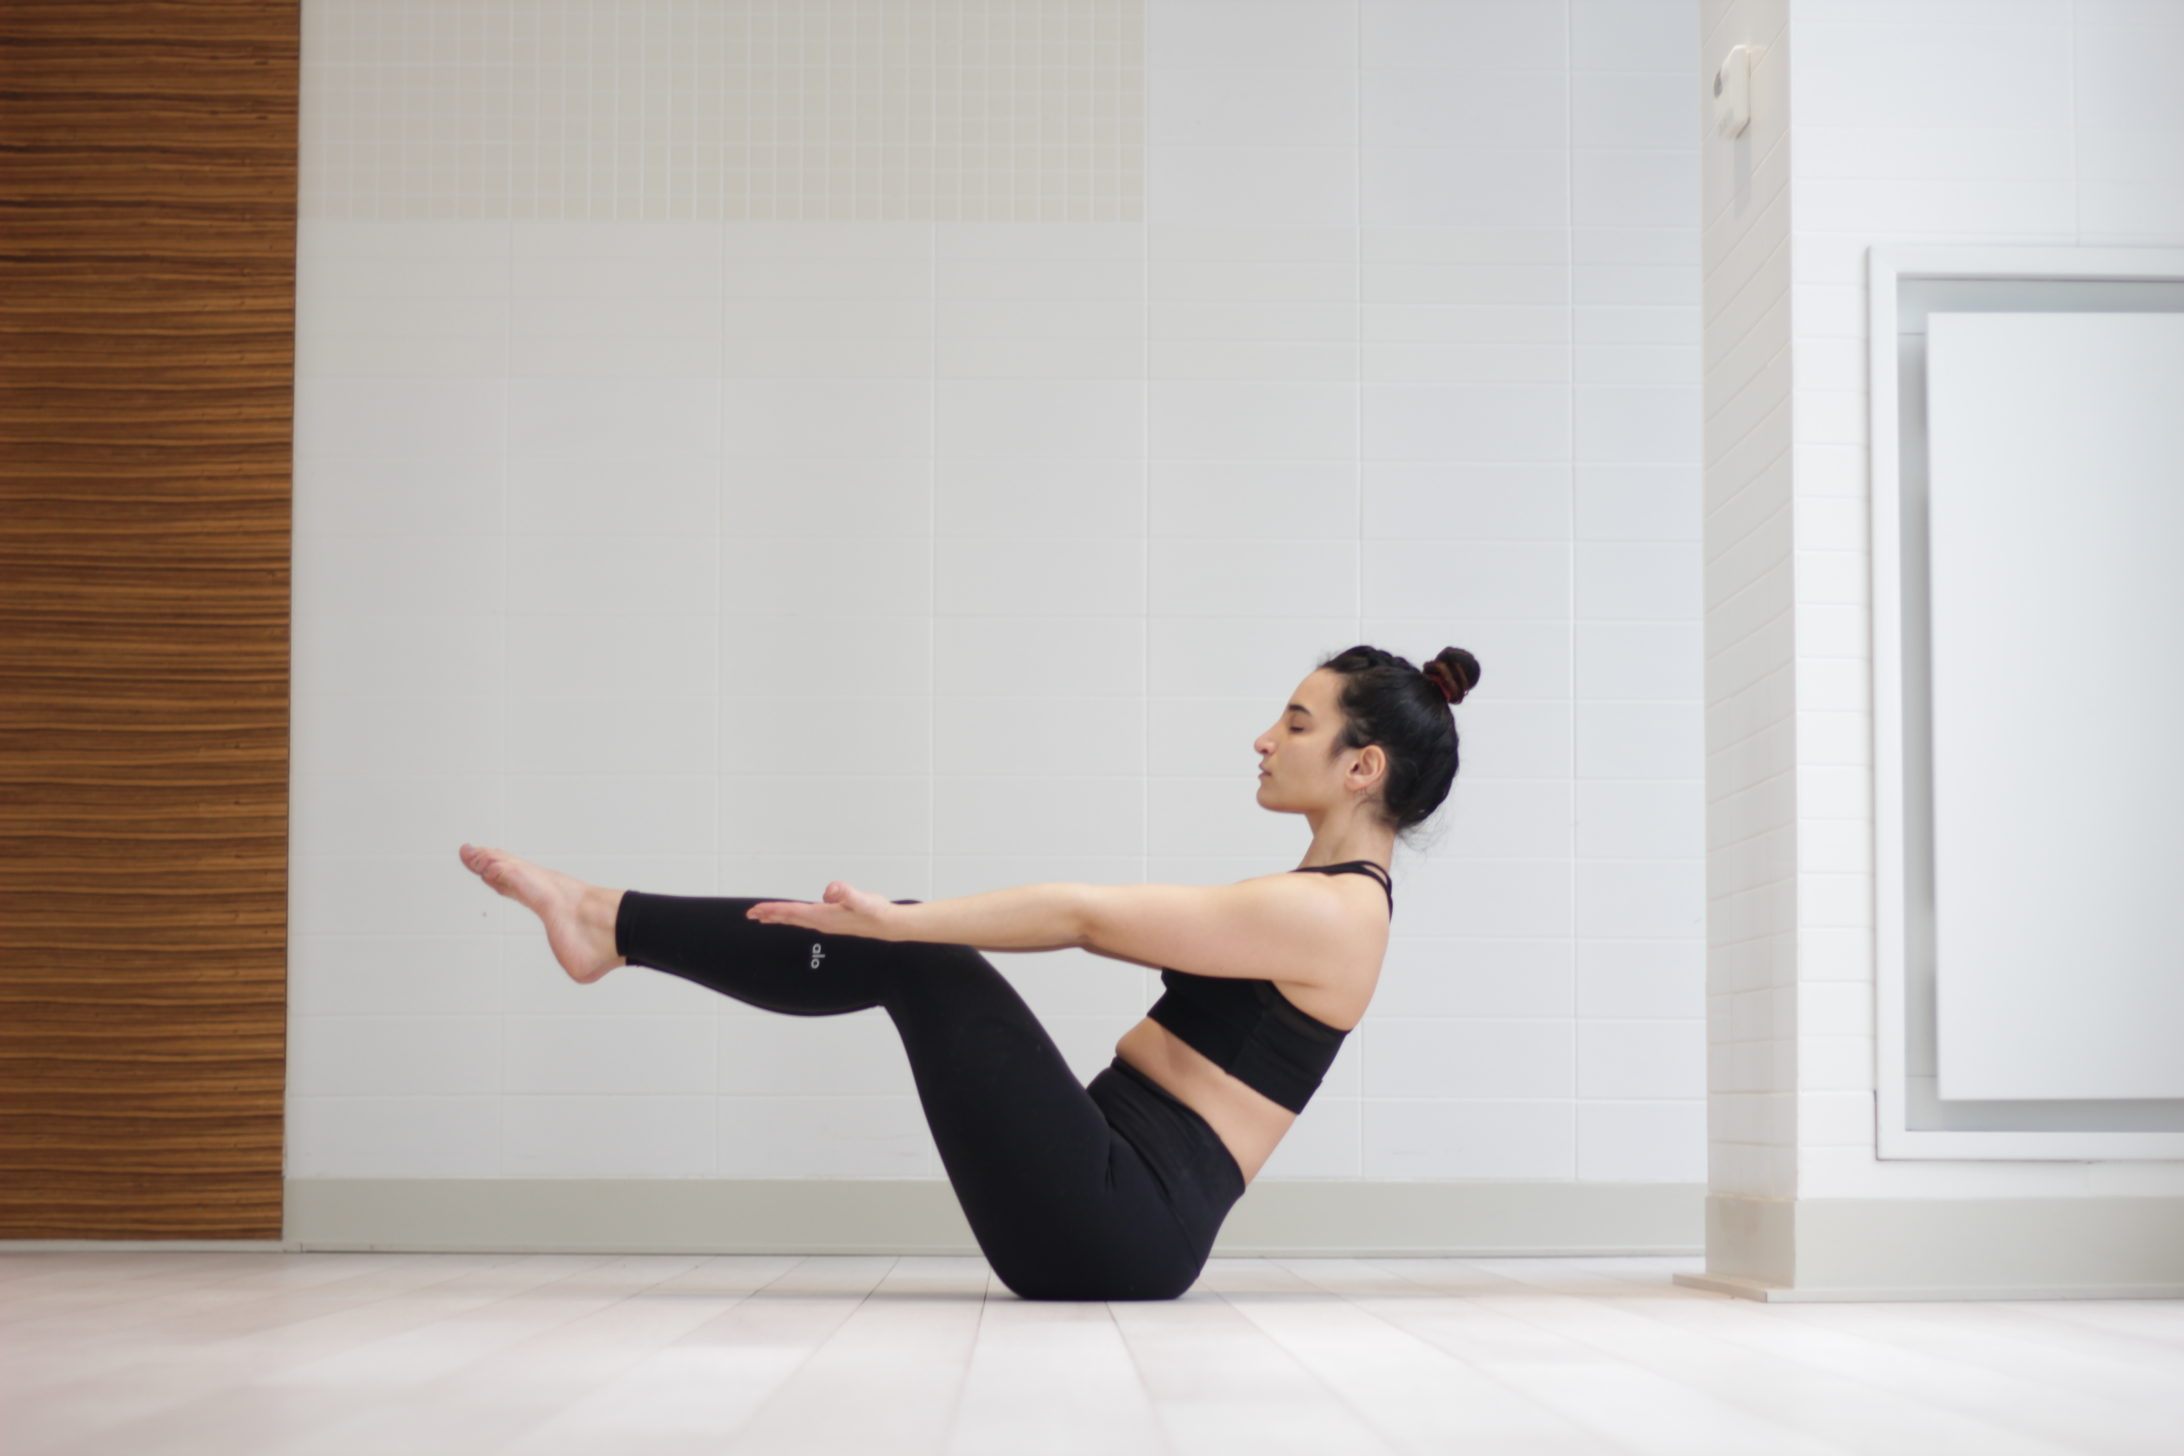
-

- Full Boat

Chaturanga
Dolphin pose
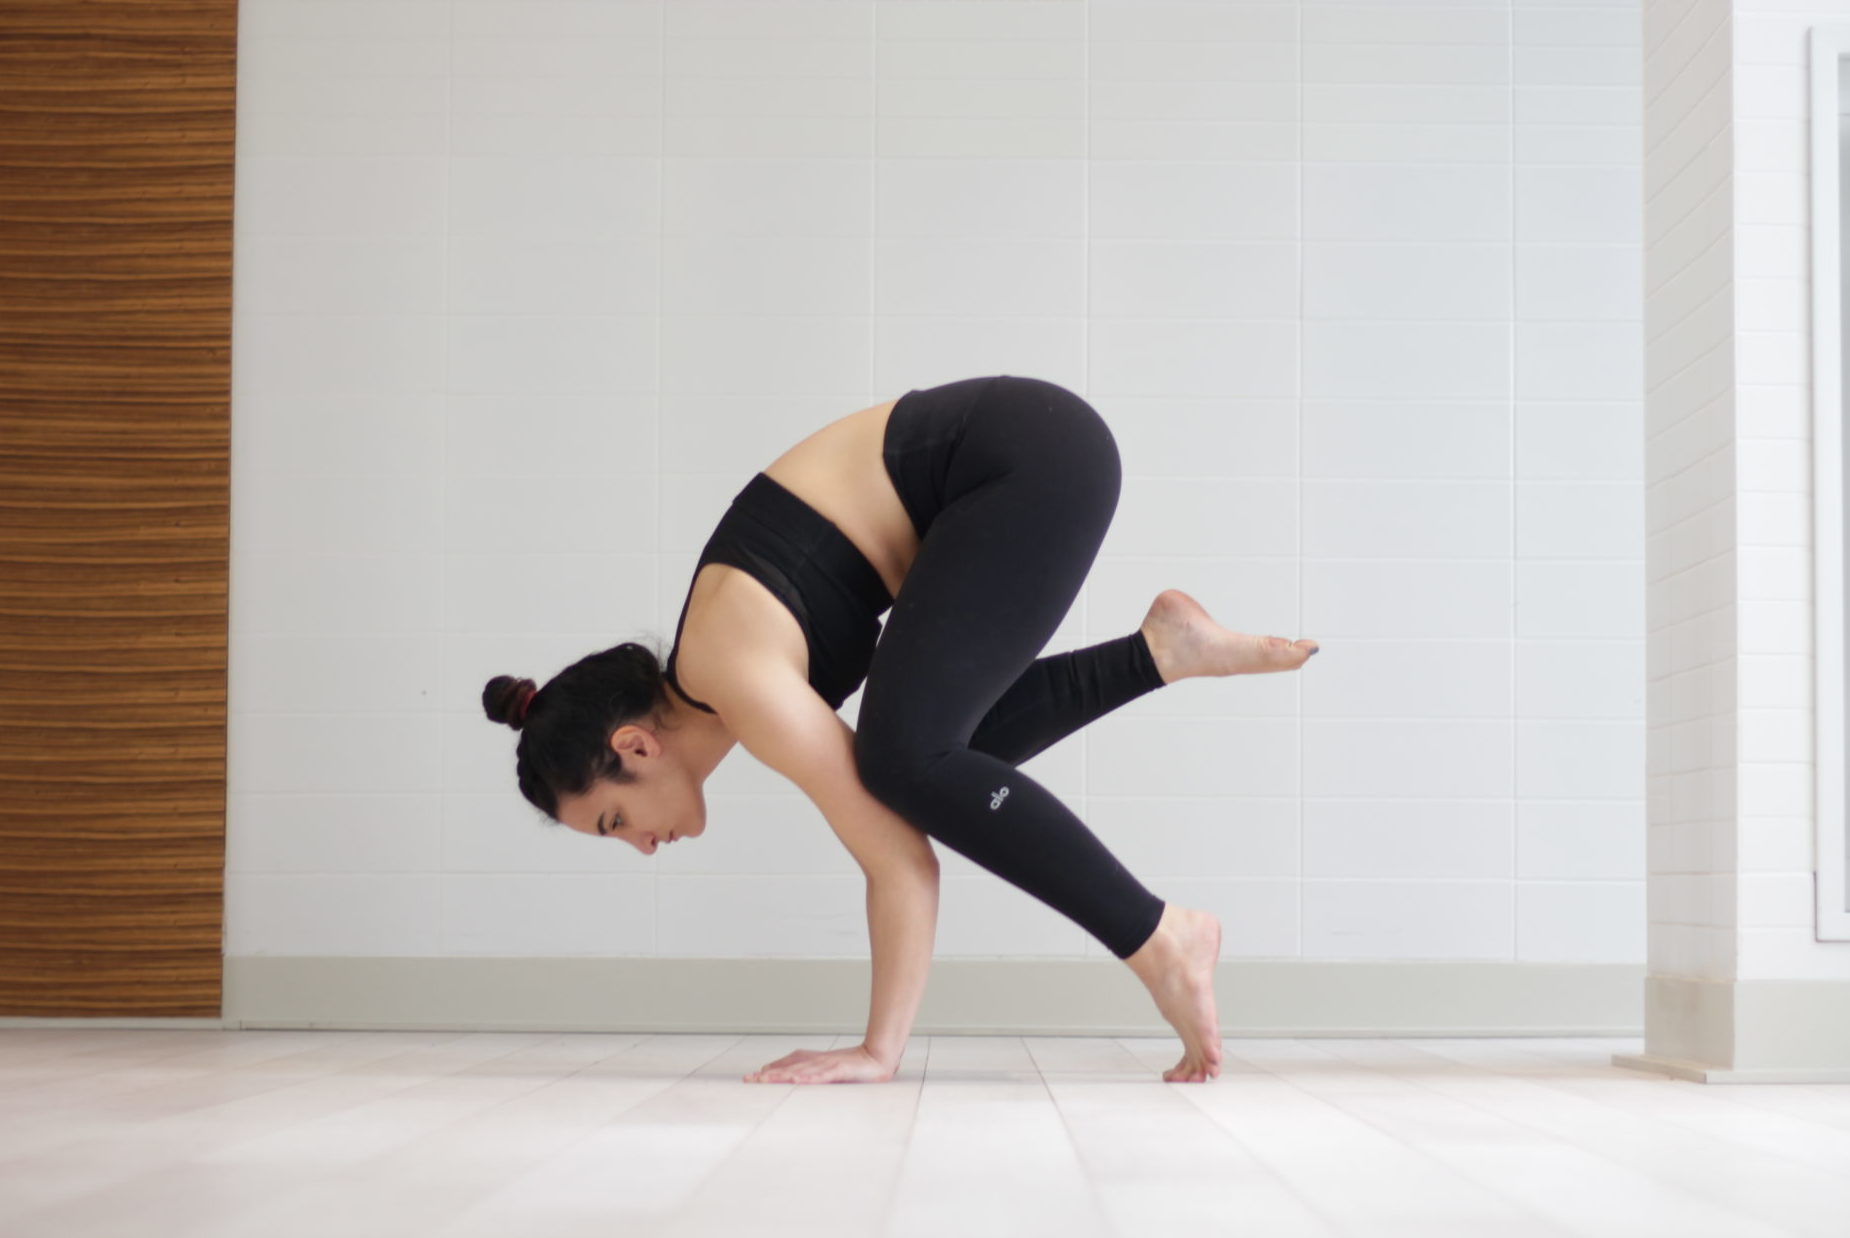
Crow
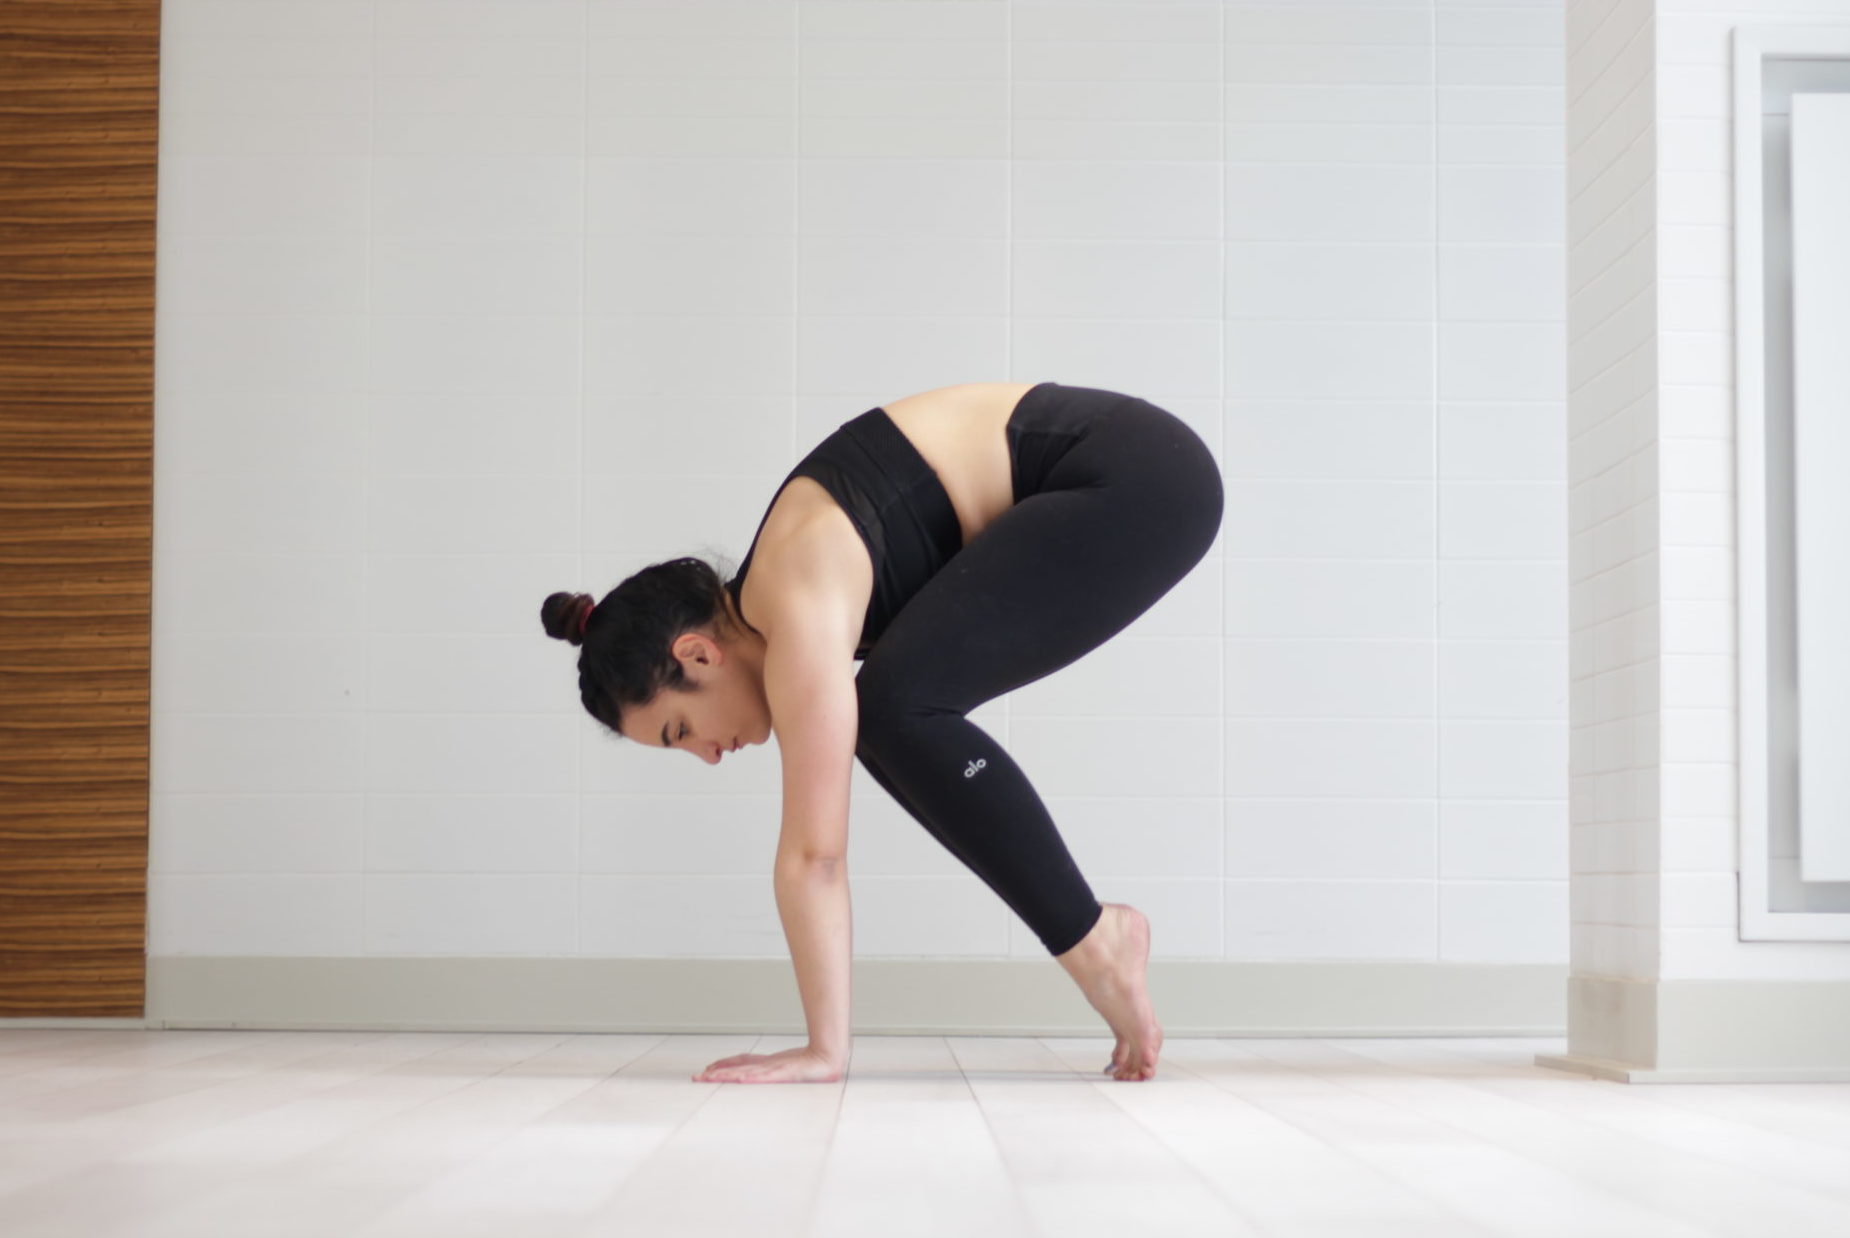
-
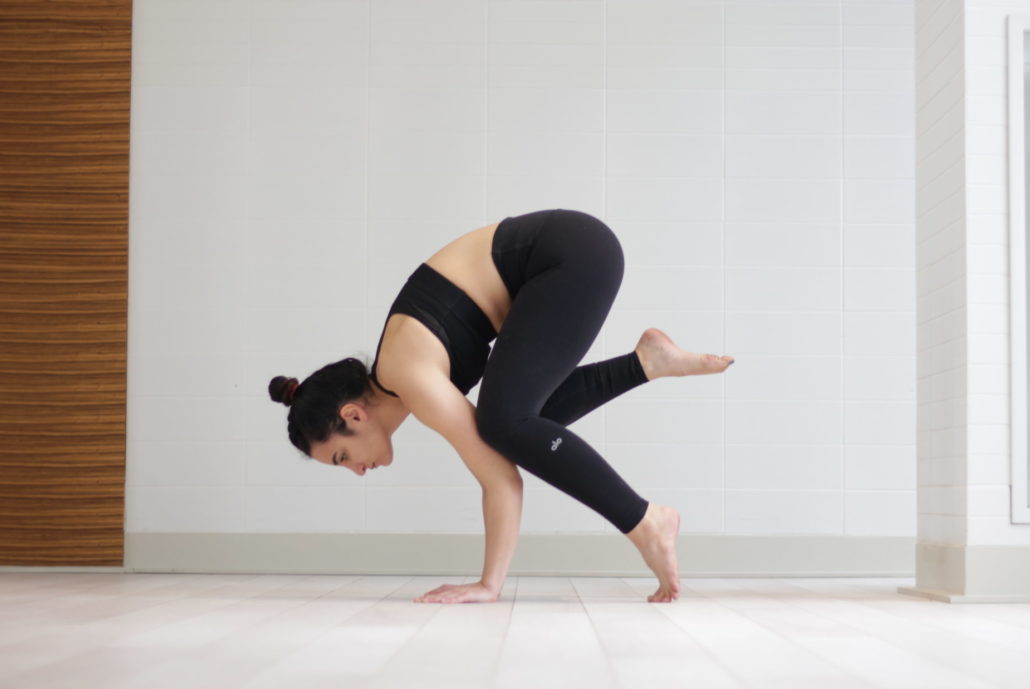
- Lifting into Crow
PREP EXERCISES
Plank curls
-
- Plank

-

- Lift one leg back

-
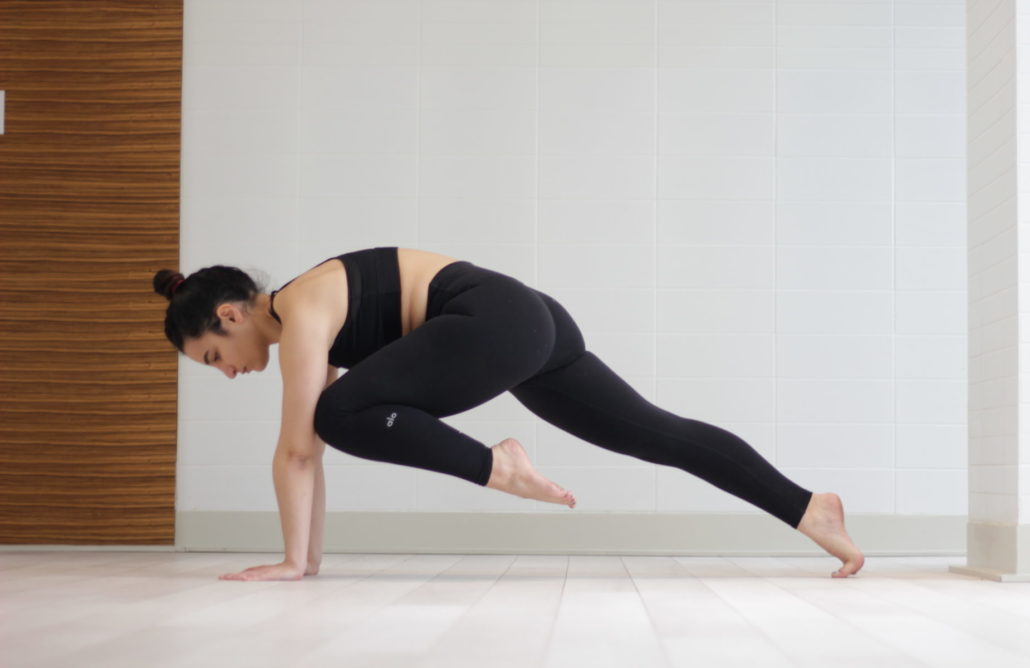
- knee to elbow / repeat

Using the wall
– To practice pike
– To practice L-stand
A great way to get over your fear of inverting and relying on the wall behind you. L stand builds better form for headstand!
Moving away from the wall
It takes a lot of guts to move away from our handy friend “Paul the Wall” – but moving from the wall early on helps train the muscles to rely on working to keep you up – building proper muscle memory. In the video below are some examples of ways we can start to get into headstand with the wall a lot further away from you.
You can prep for pike without the wall by using a prop like a ball or a block/wheel or anything really like a couch 🙂
In the video below I am using a somewhat deflated exercise ball to prep for pike.
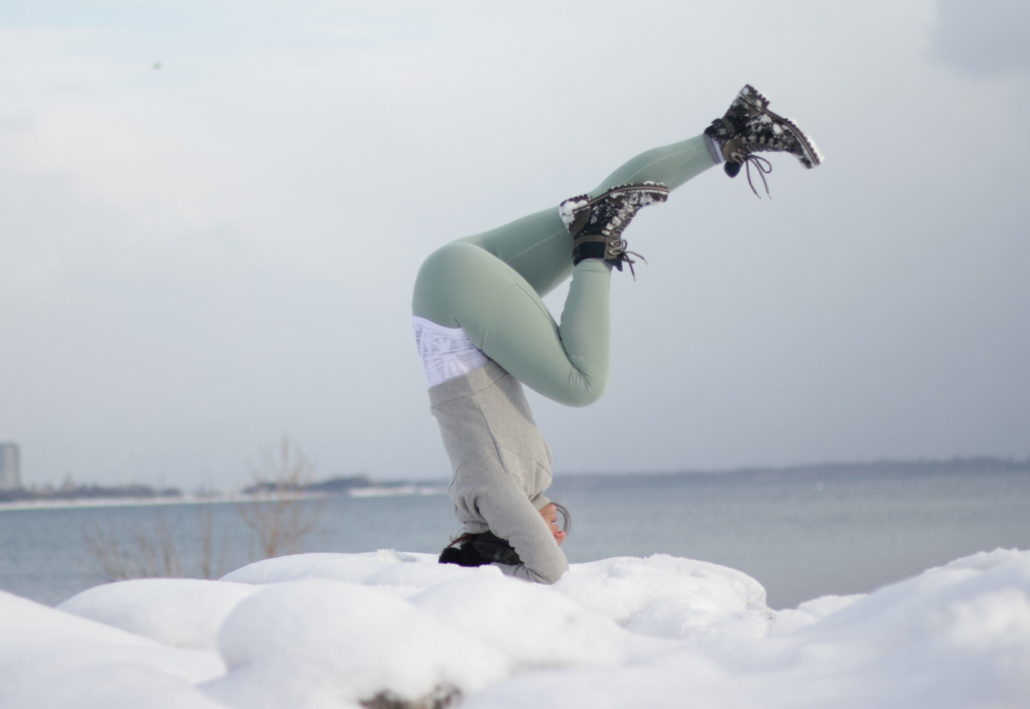
Once you get the hang of holding your balance in headstand it opens up a whole world of poses to play with. Inversions are my favourite things to practice and I love how they make me feel strong mentally and physically!
Here are some fun headstand variations below!
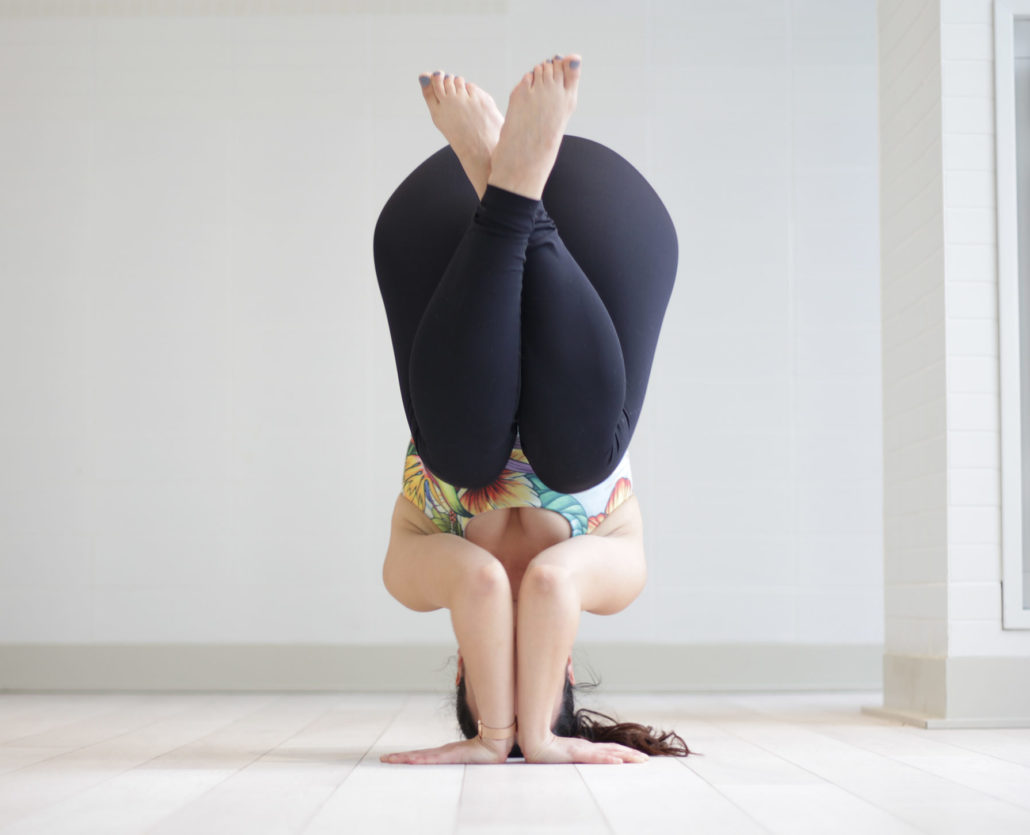
Leg Variations
Tuck, Stag legs, Eagle, Splits, Twist, Lotus, Butterfly, Tuck
Arm Variations
Supported, Tripod, Hands to elbows ,Fingertip, Straight arms, No hands
——————–
Remember to trust the process, sometimes it just takes a little longer than others and that’s ok! Don’t compare your progress to any one else’s – you are doing this for you 😉 The ego has a funny way of making us do things that can possibly hurt us, so don’t rush through and skip the prep. Take your time – it’s actually what helps you move faster than anything else and what has helped me the most.
Hope this helped you in some way! Let me know what you think in the comments below.
You can find me on Instagram, Facebook, and Youtube – follow me for more posts like this <3


Thanks for the pointers!
Happy you found it helpful! 🙂
thank you – it’s hard to find tips and positions to help before you begin to do the headstand. I can’t lift my legs up (bent or straight). I can hold all positions you’ve shown but have difficulty with pike/boat poses. Im hoping strengthening those will allow me to lift my toes off the ground!